As you can probably tell from my previous posts, I adore baking bread. It's a very rewarding process. Now, sadly, after winter break, I had to leave my bread sponge behind at home, and no one was willing to feed him every day and use him for me in my absence, so alas, the bread sponge is no more. When I went home for spring break, I didn't want to make another sponge on to see it have the same fate a week later as Mr. Bread Sponge number one. I contemplated making straight yeast breads without a sponge, but these don't have nearly as much flavor and texture as sponge breads. Hmm...what challenging, interesting, bready thing would I make instead... BAGELS! I had already attempted making bagels several years earlier, and they were a flop. Or more like sad, hard, circles. It would be a challenge, but I would attempt them again. I did some research online and found a recipe that looked to be pretty tried-and-true; many bloggers swore by Peter Reinhart's bagel recipe. Now, this recipe does call for a sponge, but it is a pretty quick sponge and the whole sponge gets used in the recipe, so it met my criteria of not wanting to deal with a high-maintenance sponge.
Challenge accepted.
Homemade Bagels
(adapted from Marzipan, who slightly adapted Peter Reinhart's recipe)
...makes 12 big bagels...
Ingredients:
For the sponge
-
1 teaspoon instant yeast
- 4 cups (18 ounces) bread flour
-
2 1/2 cups (20 ounces) water, room temperature
For the dough
- 1/2 teaspoon instant yeast
-
3 3/4 cups (17 ounces) bread flour
-
2 3/4 teaspoons salt
- 1 tablespoon barley malt syrup (or honey or brown sugar apparently works, too)
For the boiling/finishing
-
1 tablespoon baking soda for each pot of boiling water you plan to use
- cornmeal
- 1 egg white mixed with a tablespoon of water
- Sesame seeds, poppy seeds
Directions:
Day one
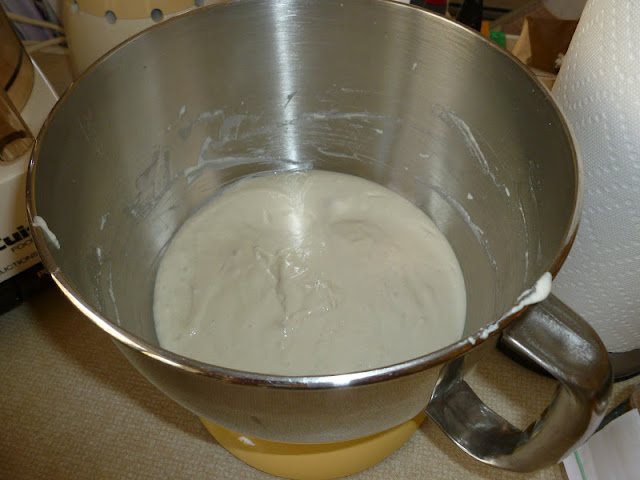
- Sponge: Put the 18oz of flour and the yeast into the largest bowl you have for your stand mixer. With the whisk attachment, stir the yeast into the flour. Add the water, stirring only until it forms a smooth, sticky batter. Remove the whisk attachment and cover the bowl with plastic wrap. Leave at room temperature for approximately 2-2 1/2 hours, or until the mixture becomes bubbly. It should swell to nearly double in size and collapse when the bowl is tapped on the countertop.
- Dough: After the sponge has sat for a long enough time, in the same mixing bowl add the additional yeast to the sponge. Using your dough hook attachment, stir the yeast into the sponge. Then add only 14oz (about 3 cups) of the flour and all of the salt and malt syrup. Mix on low speed with the dough hook until the ingredients form a ball, slowly working in the remaining 3oz of flour (about 3/4 cup) to stiffen the dough. It may take a while to mix in all the flour. If your mixer can't handle the volume, just do it by hand!
- If your mixer can handle it, knead the dough with the hook for 6 minutes. If your mixer cannot do the job, you can dump the dough onto the counter and knead it by hand for about 10 minutes. (You will know when your mixer has had enough...it starts to make the most gut-wrenching, horrible mixer sounds....eeeee ugh eeeee ugh eeee. This happened to me after about 4 minutes of kneading in the machine, so I relieved my machine of the pain and just did another 6-8 minutes of kneading by hand.) The dough should be firm, but still pliable and silky smooth. There should be no raw flour – all ingredients should be hydrated. (Marzipan wrote this: "The dough should pass the windowpane test and register 77 to 81 degrees F". I have no idea what the windowpane test is. If you do, go ahead and use it. My guess would be it involves flinging dough at the window...kinda like the pasta sticking test, but I spared my kitchen windows the disaster and just used my intuition instead). If the dough seems too dry and rips, add a few drops of water and continue kneading. If the dough seems tacky or sticky, add more flour to achieve the stiffness required. The kneaded dough should feel nice and smooth. You should be able to pet it.
- Immediately divide the dough into 4 1/2 ounce pieces for standard bagels (you'll have 12), or smaller if desired. Form the pieces into rolls.
- Cover the rolls with a damp towel and allow them to rest for approximately 20 minutes.
- Line 2 baking sheets with baking parchment and mist lightly with spray oil.
- Poke a hole in a ball of bagel dough and gently stretch the hole to widen it to approximately 2 1/2 inches in diameter (always good to keep a clean ruler in your kitchen! The dough should be as evenly stretched as possible (try to avoid thick and thin spots.)
- Place each of the shaped pieces 2 inches apart on the pans. Mist the bagels very lightly with the spray oil and cover each baking sheet loosely with plastic wrap. Let the baking sheets sit at room temperature for about 20 minutes.
- Check to see if the bagels are ready to be retarded in the refrigerator by using the “float test”. Fill a small bowl with cool or room-temperature water. The bagels are ready to be retarded when they float within 10 seconds of being dropped into the water. Take one bagel and test it. If it floats, immediately return the tester bagel to the pan, pat it dry, cover the pan, and place it in the refrigerator overnight (make sure you put it in a cold spot of the fridge*). If the bagel does not float. Return it to the pan and continue to proof the dough at room temperature, checking back every 10 to 20 minutes or so until a tester floats. The time needed to accomplish the float will vary, depending on the ambient temperature and the stiffness of the dough.
- The following day, preheat the oven to 500 degrees F (475 degrees F for convection oven) with the two racks set in the middle of the oven. Bring a large, wide pot of water to a boil. To be more efficient, use two big pots. Add 1 tbsp baking soda to each pot of boiling water.
- Remove the bagels from the refrigerator and gently drop them into the water, boiling only as many as comfortably fit (they should float within 10 seconds). Boil the bagels for 45 seconds per side. Remove the bagels using a slotted spoon or spider to get rid of excess water. The longer the bagels boil, the chewier they will be, apparently. While the bagels are boiling, sprinkle the same parchment-lined sheet pans with cornmeal.
- When the bagels are done being boiled, return them to the now cornmeal-dusted, parchment-lined baking sheets. Brush the bagels with egg wash and allow it to dry. Then brush them again with egg wash and top with sesame seeds or poppy seeds while still wet.
- When all the bagels have been boiled and dressed with seeds, place the pans on the 2 middle shelves in the oven. Bake for approximately 5 minutes, then rotate the pans, switching shelves and giving the pans a 180-degree rotation. (If you are baking only 1 pan, keep it on the center shelf but still rotate 180 degrees.) After the rotation, lower the oven setting to 450 degrees F (425 for convection) and continue baking for about 5 minutes, or until the bagels turn light golden brown.
- Remove the pans from the oven and let the bagels cool on a rack for 15 minutes or longer before serving.
- Serve with your favorite bagel toppings. May I suggest cream cheese and nova lox? Or how about some walnut butter? Jam? Butter? Or make a delicious bagel sandwich!
- These bagels freeze beautifully. Slice them and place them in a freezer bag; remove a half or two, and toast it up whenever you have a bagel craving!
*Retarding the bagels in the fridge overnight is an essential step in the process. I made the mistake of putting one of my baking sheets at the very very top of the fridge (because this is the only place I could make it fit without major refrigerator rearrangements). Evidently, the fridge was not very cold up there because my bagels continued to rise - they over-rose - and then subsequently collapsed. While they still tasted excellent, they were really not the most beautiful creations...kind of flat and lumpy rather than smooth and puffy like their properly-chilled counterparts.
This was a labor of love, but it made for the most delicious brunch! And don't you feel so much better when you are eating homemade things baked with lots of love rather than mass produced products?
 |
| My first time using instant yeast! Isn't the guy on the package super adorable? Although he's being rather bold with just how much yeast he's casually dumping into his bowl...I can only imagine what he's cooking up! |
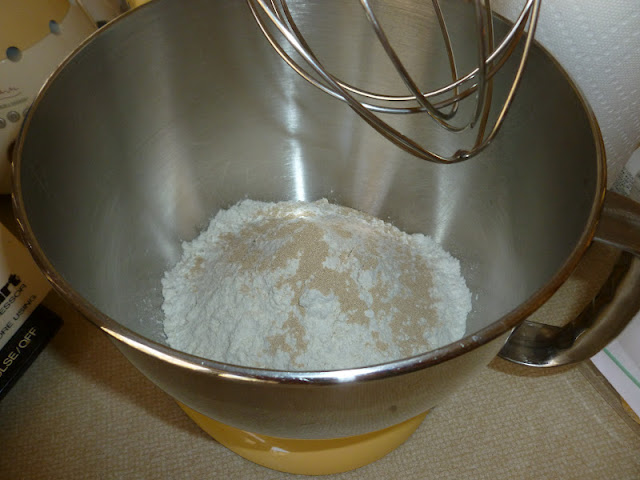 |
| Yeast and flour. |
 |
| Add the water. |
 |
| Mix mix mix. |
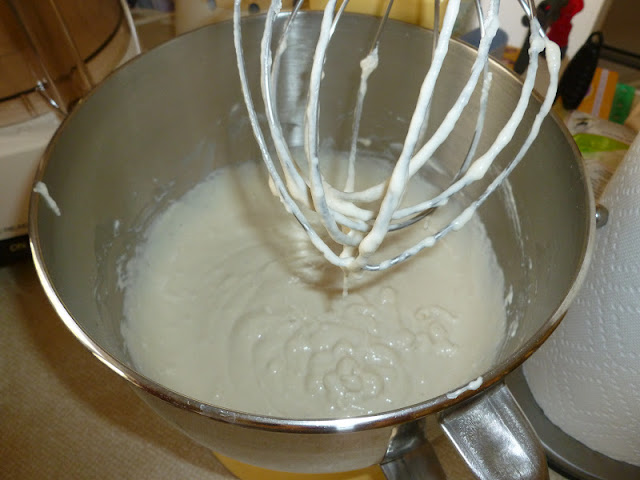 |
| Oooh so smooth and silky. |
 |
| Pre-resting. |
 |
| Post-resting. Nice and bubbly and doubled in size. |
 |
| The next round of ingredients. |
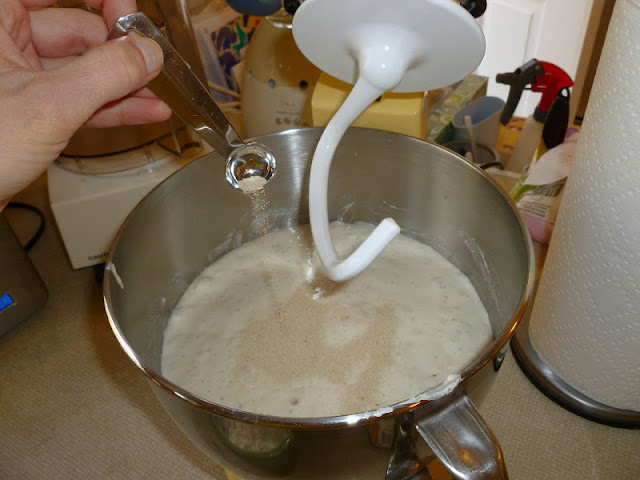 |
| Yeast = fairy dust. Just like magic. |
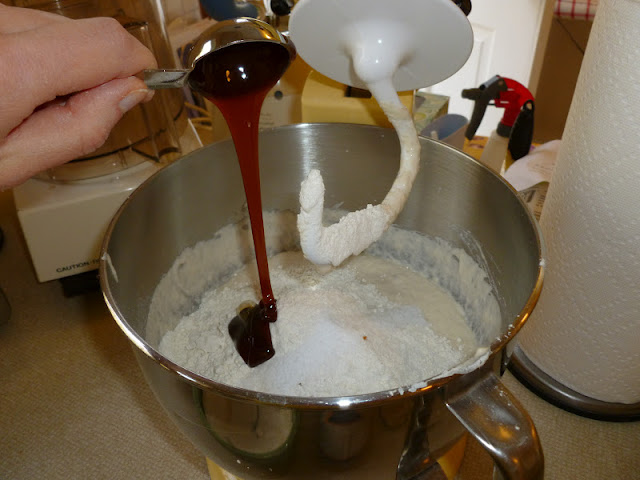 |
| Barley malt syrup...now this is really really sticky stuff. (The process of getting all the syrup out of the tbsp measure was quite long...I should have greased the spoon a little bit first to make the syrup slide right out.) |
 |
| Go mixer go! |
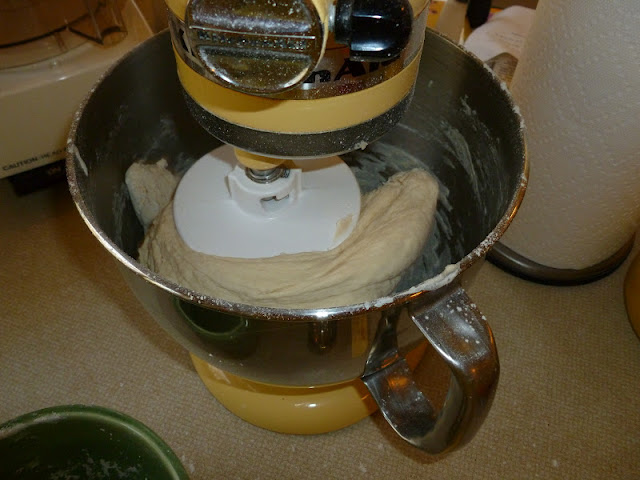 |
| Action shot...you can do it... |
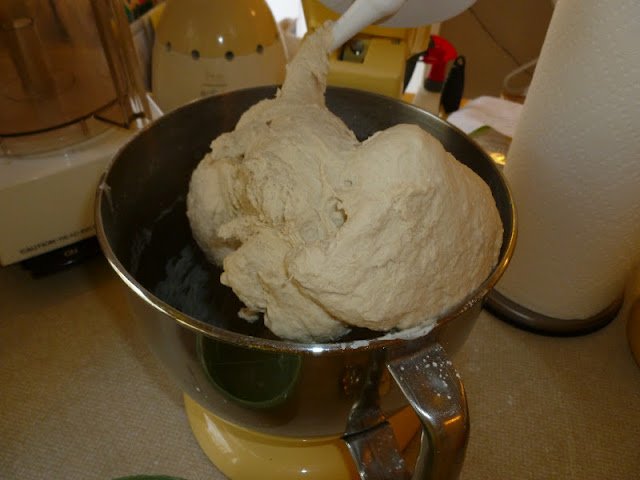 |
| The "eeee ugh eeeee ugh" got too painful after a while. Mr. Kitchen Aid's work was done. |
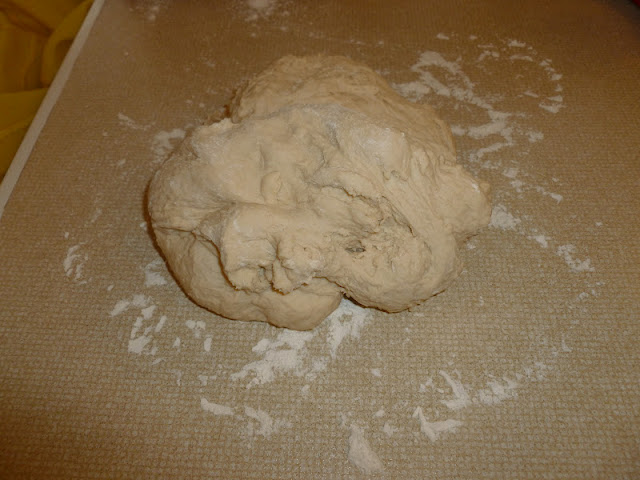 |
| Plop. Let the kneading begin. |
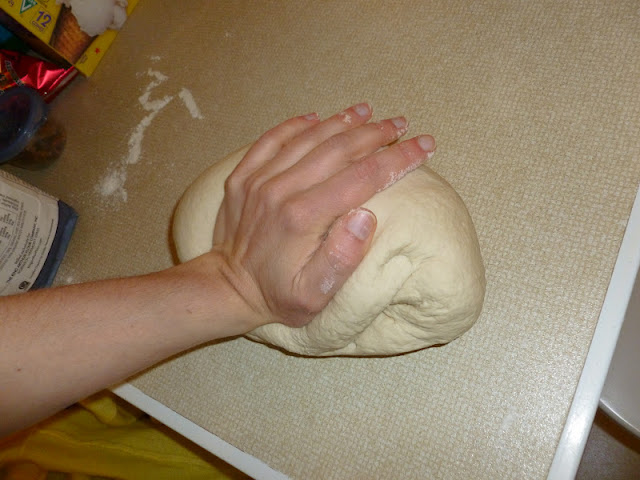 |
| Smooooooosh. |
 |
| So smooth and pet-able. Ready to go. |
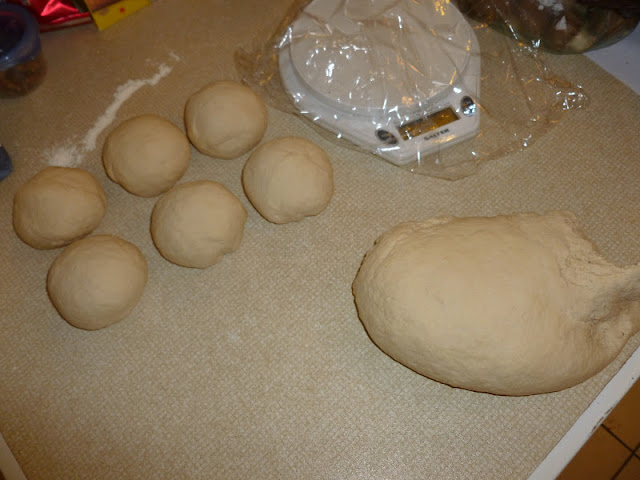 |
| I love my little scale. |
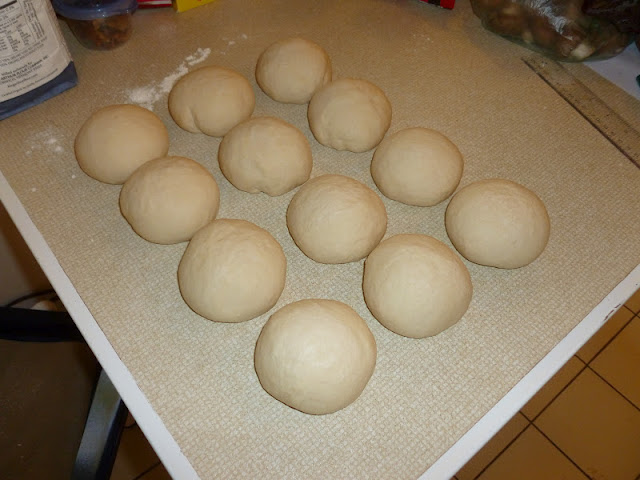 |
| All the little soldiers lined up, ready to get their holes. |
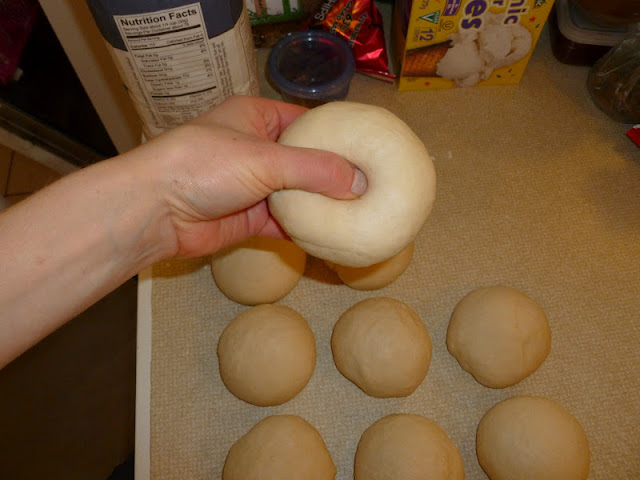 |
| Poke. Tee hee hee. Best part. |
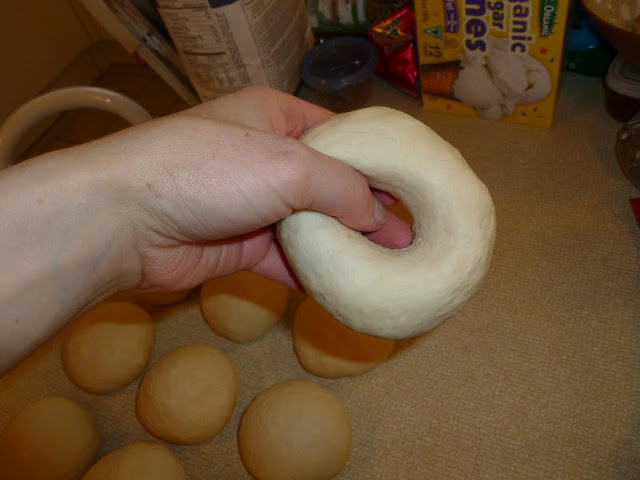 |
| Stretch! Really, you want the whole to be about 2 1/2 inches wide...it may seem like a huge hole, but trust me, it's going to shrink as the dough rises and bakes! |
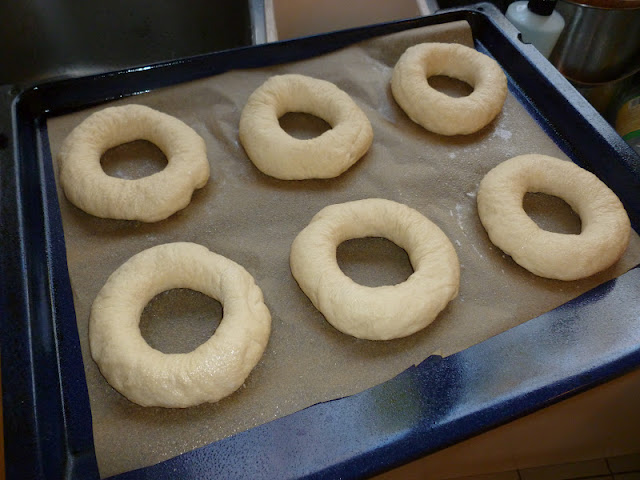 |
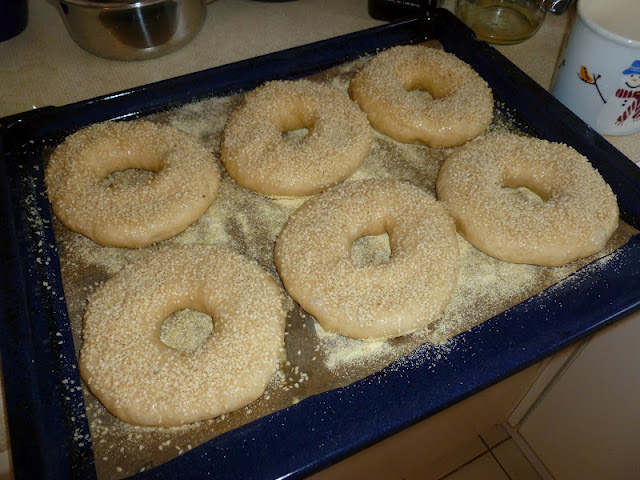
| Into the fridge they go. |
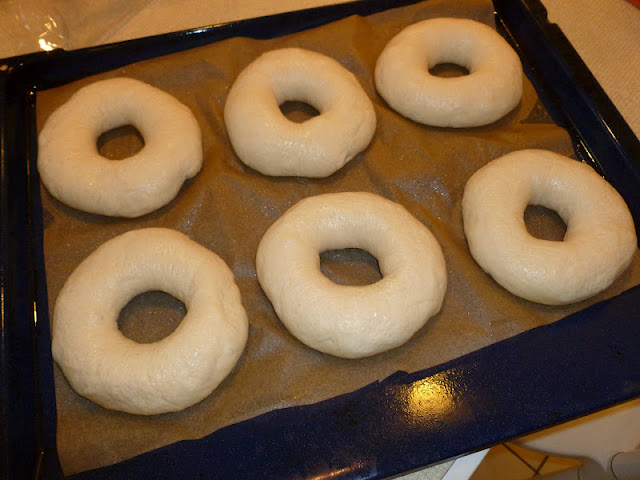 |
| After being retarded in the fridge overnight. This was the good tray that was in the cold part of the fridge. I will spare you from the ugly bagels. |
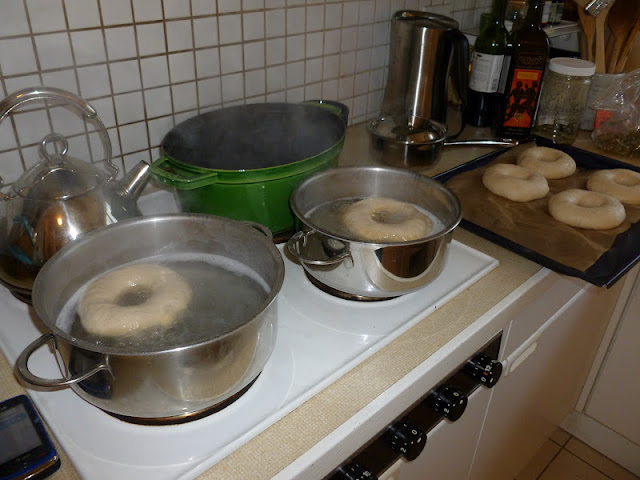 |
| My mad scientist/witch's brewing station. |
 |
| All boiled, egged, and seeded. (I also made some poppy seed bagels, but these were the ugly half of the bagels...poppy seeds are better cover-up than sesame seeds but still not enough to be blog-worthy.) |
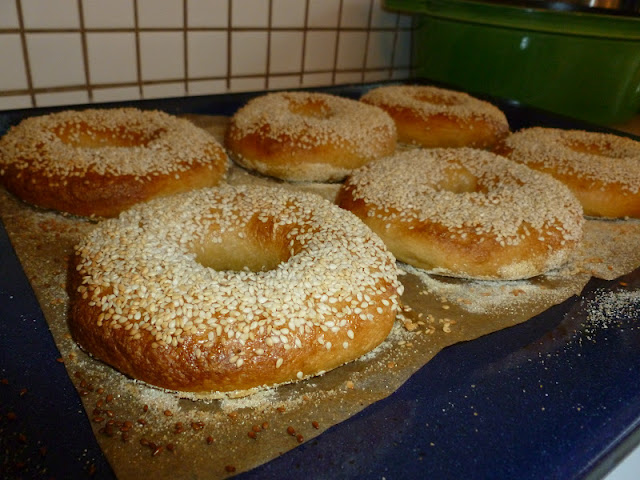 |
| Out of the oven - golden brown and delicious. And they actually look like legitimate bagels! |
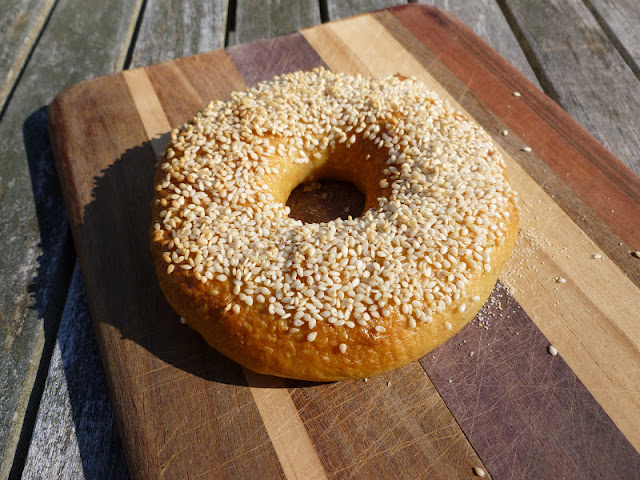 |
| Glamour shot in the sun! |
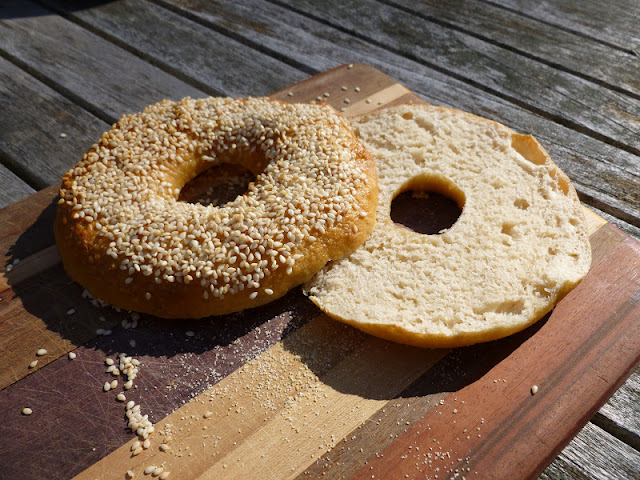 |
Soft and chewy with a lovely crust! A delicious bagel with structural integrity and a really yummy flavor.
A well worth it labor of love. |
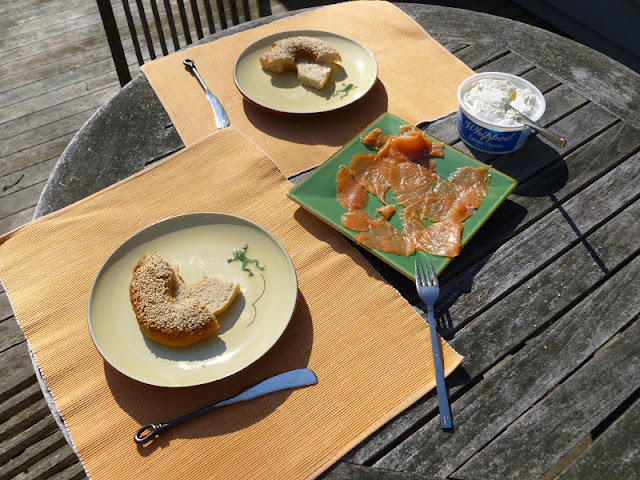 |
| A mother-daughter brunch on the deck in full sun with bagels, lox, and cream cheese...what could be more perfect? |
Next time I make bagels, I think I'll attempt some crazy toppings and perhaps different flour combinations...so many things to try!
Now, normally I tend to not eat too many bagels because they really don't hold a lot of nutritional value. And I think someone partially scarred me once by referring to bagels as "glue in your colon". This is perhaps true of those sad, commercially packaged bagels. However, this is a case where my personal mantra comes in: "You can eat anything as long as you can make it yourself."


